We start this 3 part Making off with the creation of the Urusak Watert Device Spiral Assembly.
When starting the Urusak Water Device project up again at the start of 2021 at the height of the COVID pandemic my ultimate goal was to make this device as cheap as I could to reach as many people as possible.
While the first phase (2014-2015) was mainly to materialize the device, this time it was different! It became clear that this gift from the Anra for humanity was needed and needed badly.
The Urusak Water device is made up of 3 main components, each proven expensive and time consuming to produce:
- The spiral assembly
- The engraved disks
- The stand
My first step was to see if the Spiral assembly could be made cheaper. The Spiral Assembly is the center piece of the device and a vital piece of the puzzle.
Creating this custom piece out of glass, was very expensive, so what else could be done to get the same desired effect, but preferably much cheaper!
Then it came to me, why not use flexible tubing? But if I use this as an alternative, how do I shape this into the spiral we need? And more importantly how do we keep it in that shape (it is flexible tubing)?!
I needed a construction that could hold and shape the flexible tubing. But just like any construction, it needed to look the part and it should also be easy to assemble.
Well, that was easier said than done!
A couple of months before the COVID outbreak (before COVID even was a thing), I started a new hobby. I have always been drawn to, and fascinated by technique. Creating something from scratch, overcoming challenges on the way. Anutiama (https://anutiama.net) is a good example.
When I saw a 3D printer at a friend’s house, it was mesmerising! A part that he designed, slowly created layer by layer. I could sit there for hours to see how the part took shape and form!
The 3D printer hobby space is interesting! There are many cheap printers readily available, but for some reason that was not what I was looking for.
I decided to buy a well known and respected European cartesian printer (a so called bed slinger, where the bed moves in the Y-axis (front – back -front, etc.)). I opted for the kit version (and not the fully assembled version) where I had to completely assemble the printer myself.
This was amazing! It is hard to describe to see the printer in action that you have build. This really sparked something in me and I soon was modding (changing) the printer to make it even better.
Because of all the research I was doing, I bumped into a printer design created by some very smart people that was completely open source. This meant that the printer design and all the 3D parts needed to build the printer could be downloaded for free.
This together with a very detailed BOM (Bill of Materials) and manual, one could build this printer. It took me 2 weeks to sort all the hardware out that was needed and I started ordering the different parts from all over the world!
It took 2 months to receive the hardware and in the meantime my first loyal printer was been put to the test to print the printable parts of that new printer.
To make a long story short, I build my own professional printer that was actually able to print professional plastics, had a larger build volume and was able to print at much higher speeds and accuracy.
Why this story? Well this hobby was clearly meant for this project! While I had experience with building and configuring printers, I had no experience whatsoever designing 3D objects.
I got in touch with a 3D designer to see if she (Chanie) could help me with this project. She took on the challenge and she has been awesome! The hours she has put into this project has been phenomenal.
I had the ideas and Chanie the skills to translate those ideas into a 3D object / design. The only challenge was that the design could also be printed and printed in high quality.
So let me take you through the ideas we have explored and some of the challenges we faced. During the nights I was regularly visited by the Anra who often made me see the solutions for the challenges we faced!
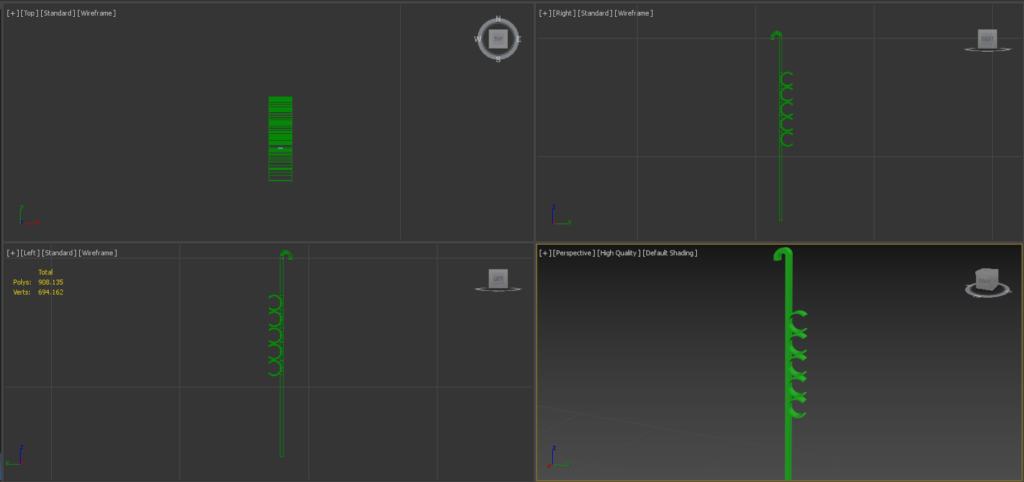
The idea was again to form / shape a flexible food-save silicon tube (silicon is flexible enough to be formed) into a spiral.
So I asked Chanie to create a cilinder with a 10cm / 3.9″ inner diameter and a height of 15cm / 5.9″. This cilinder would hold the spiral made from the tubing. A flexible tube tends to expand, the cilinder will hold it in the desired diameter.
A solid cilinder however was not an option. I felt strongly (and it was confirmed by the Anra) that the water should be seen when it flowed through the spiral during the water making ceremony. So I asked her to create a cilinder where the spiral could be seen.
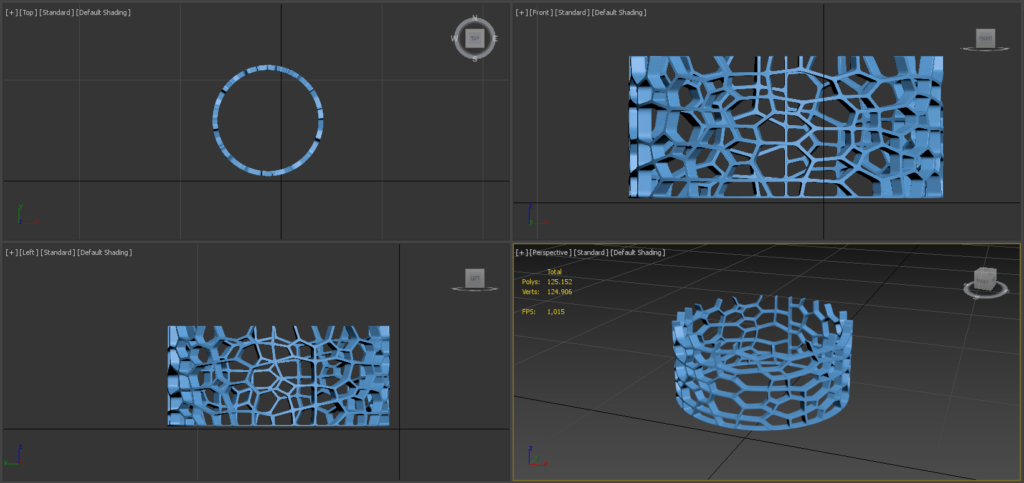
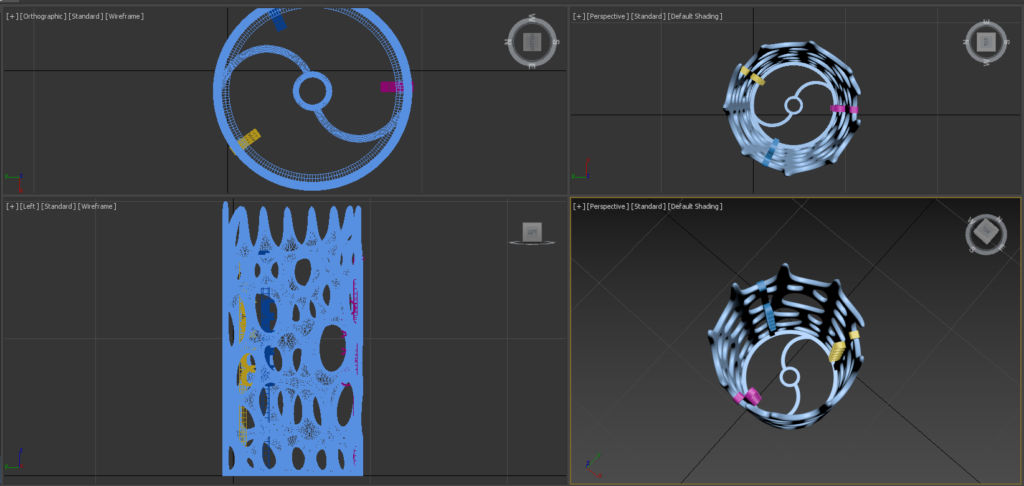
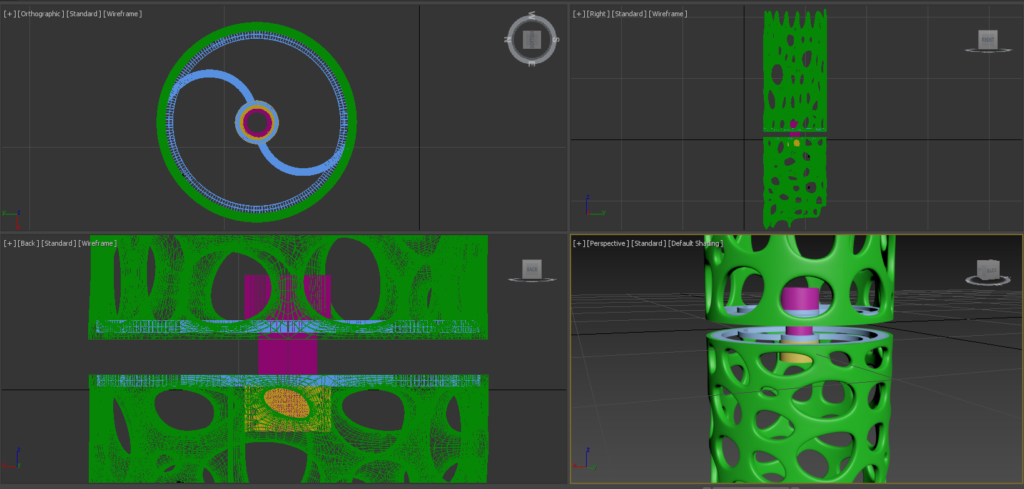
The first version simply did not appeal to me. I missed the organic flow I was looking for. This was clearly to square and hard to print. So I asked her to create a cilinder with a Voronoi pattern. What is Voronoi?
A Voronoi pattern provides clues to nature’s tendency to favor efficiency: the nearest neighbor, shortest path, and tightest fit. Each cell in a Voronoi pattern has a seed point. Everything inside a cell is closer to it than to any other seed.
Many designs were made and rejected, eventually resulting in:
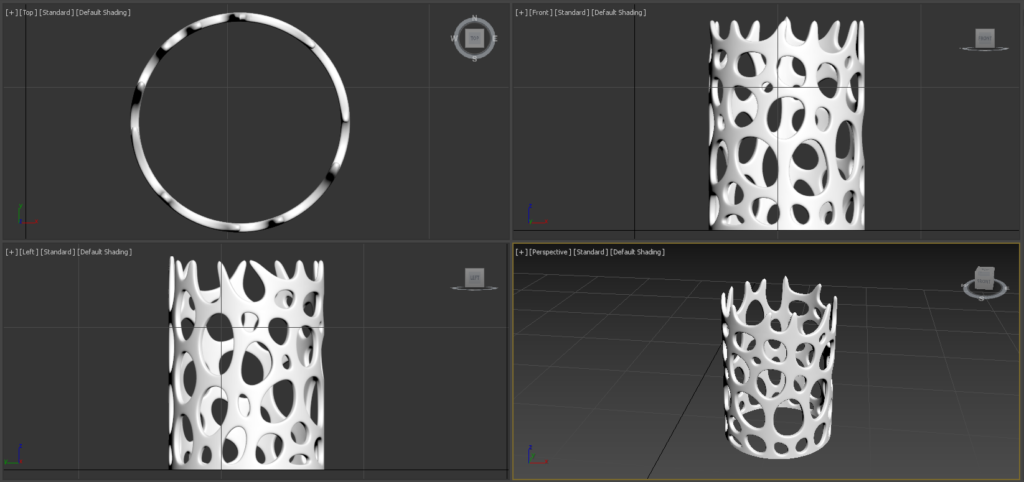
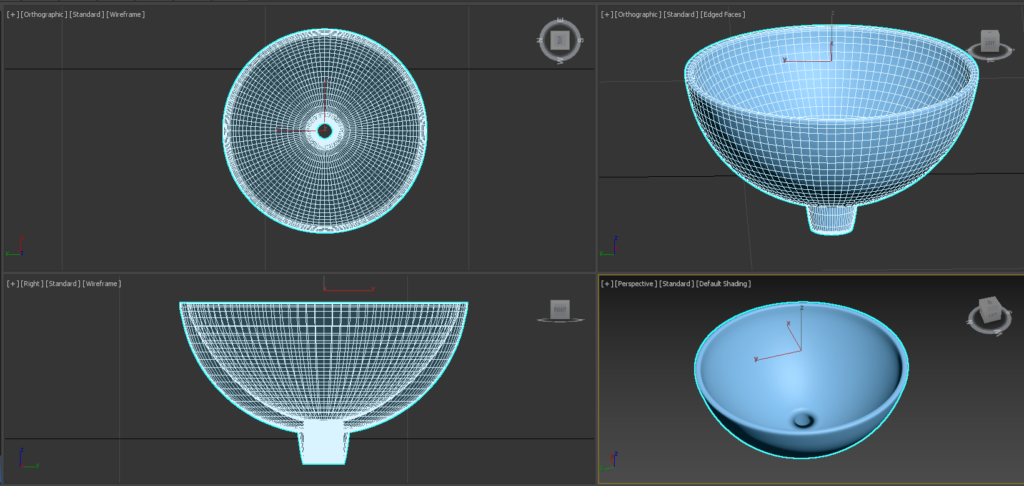
This looked really good with the open top where the open holes would embrace the funnel.
The next step was to have some sort of guide in place to form the actual uniform spiral form.
I asked for stands / sticks with clips to clip the tube in place that together shape the tube into a spiral.
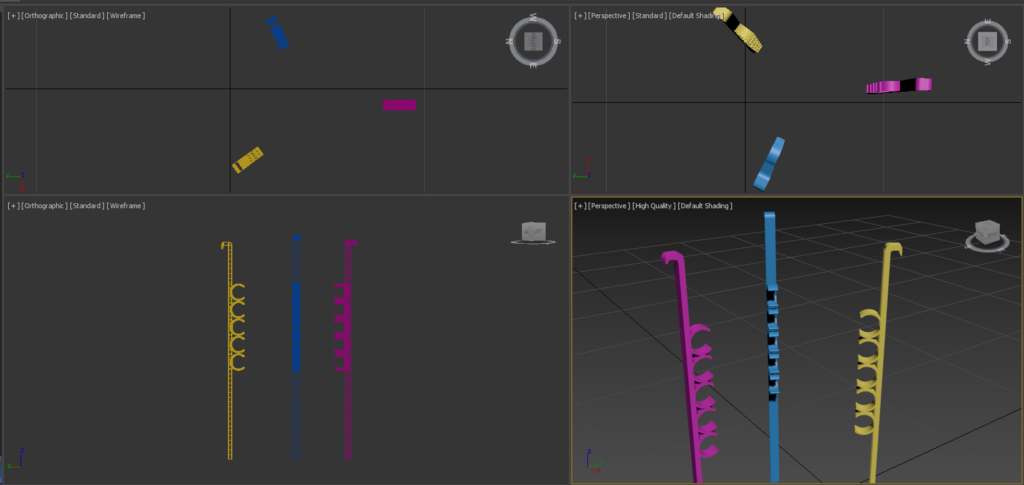
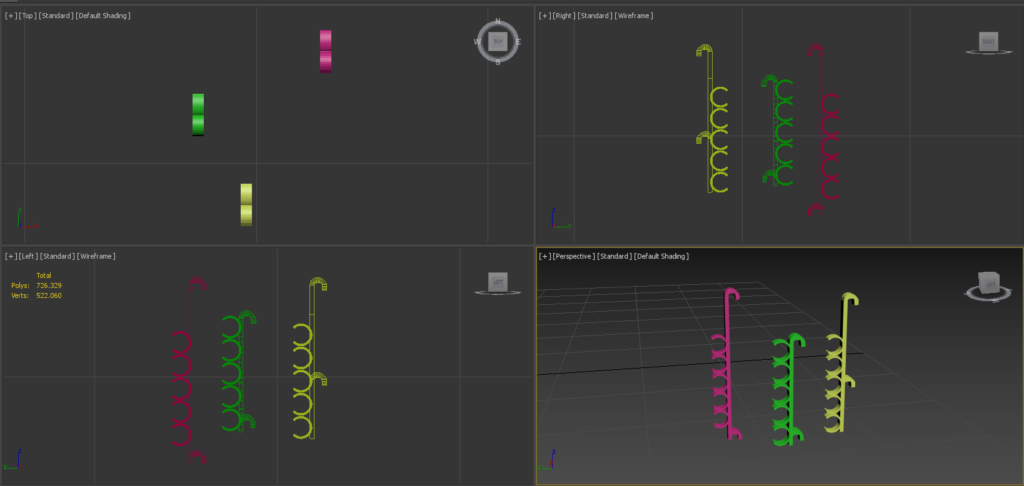
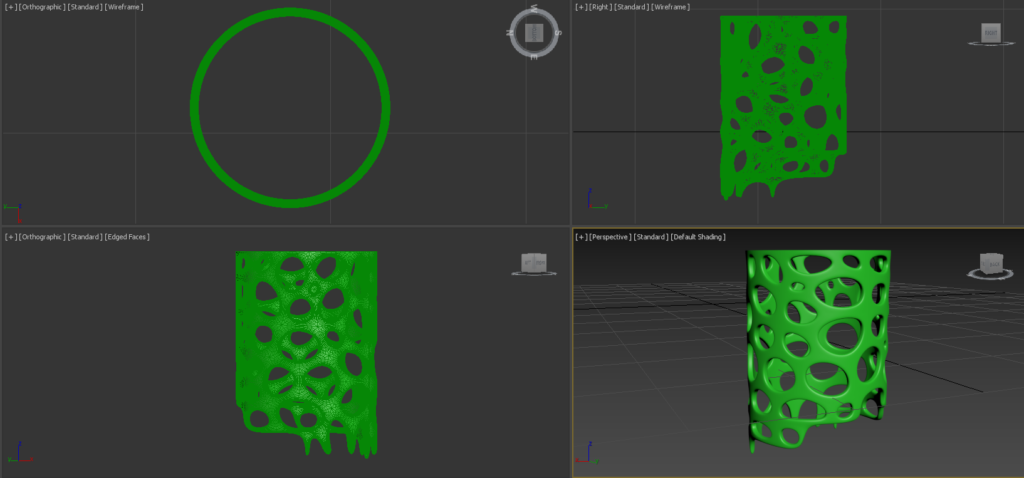
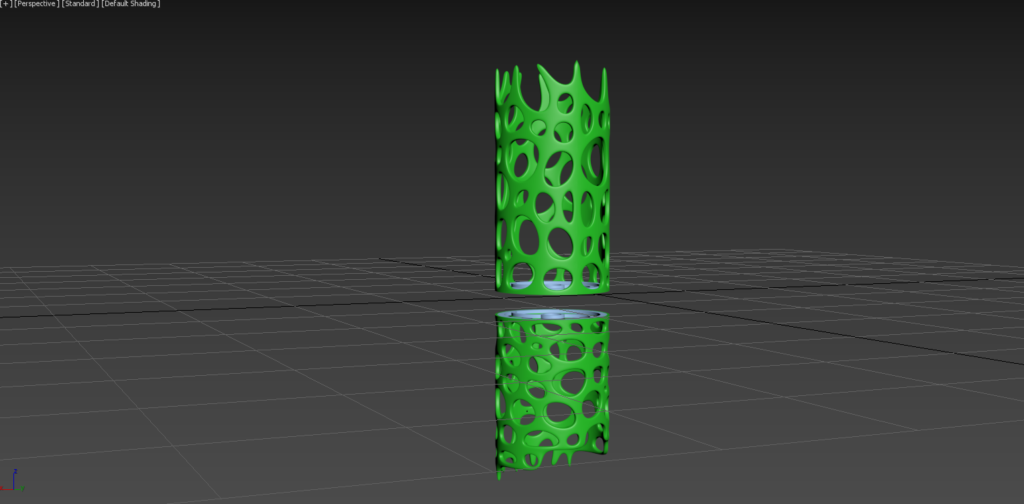
The order in which the stands with the clips were placed was important so an index was added. Now we needed to fix the clips to the Voronoi cilinder we created. This was proven difficult due to the pattern and the fact that I wanted this to be as unobtrusive as possible. I wanted the sticks to click into place so it would form a unity. A hook at the top and a hole at the bottom that would hold the part in place. It took quite some puzzling and design changes to get the stands with clips evenly spaced within the cilinder. This was important to get the spiral form that was needed.
This process with many many printed iterations took us 2 months to complete! During these 2 months where slow progress was achieved, I saw another challenge.
Bending the tube into the spiral form was possible and worked, but at the end of the spiral (both at the top and bottom), the tube needed to be bend to the center and then away from the spiral (up and down).
These sharp bends caused the tube to collaps / kink and disrupt the flow completely.
We have tried many different options:
- We designed 3D printable guides which was a major challenge on its own
- Bought different of the shelf connectors like a 90 degree connector, where you cut the tube and place it inline. This didn’t work, because it restricted the flow, but more importantly a 90 degree angle was introduced that disrupts the flow from the spirals.
Adding multiple 45 degree angles was not an option due to the restricted space (spiral diameter of 10cm / 3.9″) - We designed a custom part that needed to be produced. 3D printing this part was not an option due to hygiene and possible toxicity. Having the part professionally produced was not an option either, because of the price (exceeded the glas spiral option).
Eventually this challenge proofed to be insurmountable and we had to, with great regret leave this option behind us.
There are many other challenges we tackled, but not described here. The challenge of connecting the top and bottom spiral, attaching the bottom spiral to the horizontal plate, the funnel and many many other.

Looking back I’m glad we did abandon this option, because even if we could have overcome this hurdle, the assembly of the device would have been difficult and involved to say the least. While the tubing was cheap, the whole construction, the printed parts, the amazing Voronoi cilinder (which took over 40 hours to print with a special 3D resin printer) was expensive to produce!
This whole process including the design of the funnel which posed some serious challenges, took 7 months! During the last phase where I slowly realised that the path we had taken would most likely fail, I started to look around at other options.
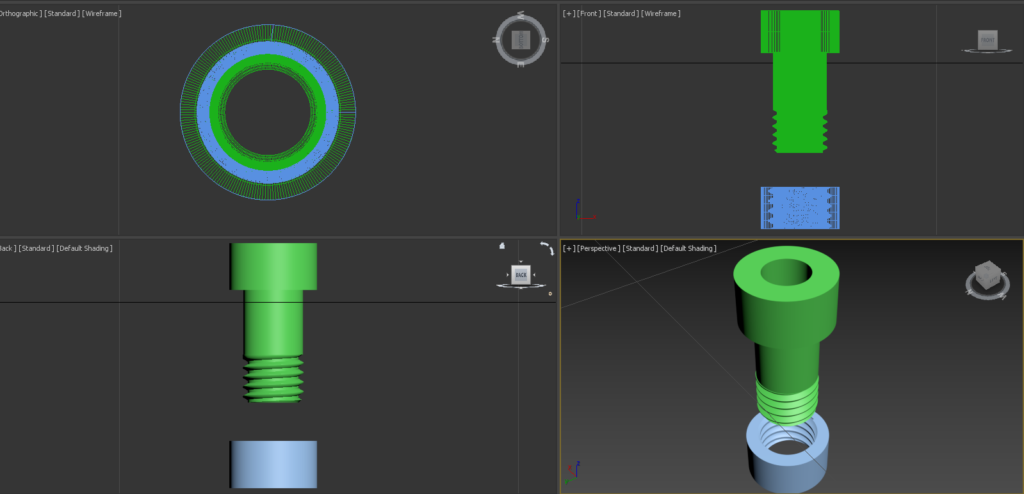
When I was designing the device in 2014-2015, I found a small company in The Netherlands that created a glass version of the spiral and funnel. This spiral was beautiful and worked really well. This piece of art was completely handmade, took quite some time to complete and was extremely expensive.
There were however some changes that were needed. Non structural, but more quality of life changes like:
- A larger funnel
- A larger glass tube diameter to increase the flow
- An easier way of connecting the spiral assembly to the horizontal plate. While the prototype way of doing it was solid and worked great, it involved extra custom parts, manual in-house assembly and some tools that not everyone might be having.
So I contacted several companies around the world to see if they could manufacture a glass spiral and funnel according to my specific specifications.
I finally found a relatively small company in China that gave me a reasonable quote (compared to all the others) taking the current global situation into account!
Due to the COVID situation, the lockdowns and many other global circumstances, raw materials were getting scarce and more and more expensive. The different lockdowns in China due to COVID and energy shortages caused many delays during this prototype phase.
After 2 weeks of constant communication, photo’s, video’s, technical drawings that had to be made up and the language barrier, I finally was confident enough to order 1 complete spiral assembly to be send over to check before placing the big order.
When the first spiral assembly arrived 7 weeks later, it looked great! They really had done an amazing job!
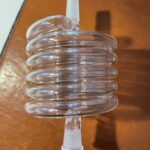
The funnel looked great and was the right size, the 2 identical spirals with the laboratory grade connectors fitted well, but:
- The vertical parts of the spiral were not centred properly
- the spiral had 5.5 turns and not the required 6. This proofed to be the hardest to explain. The Anra had clearly showed me the importance of this, so this needed to be absolutely right!
So after many sessions with them, and finally being convinced that they understood the specific design, I had another prototype made and this time I asked them to not ship it over (which took 4 weeks the last time and almost €400), but to make some very detailed pictures from all sides and angles and a video for me to see if this time it was right.
2 weeks later, I finally could give them a green light! The spiral was made exactly according to the specifications, 6 turns and vertical parts nicely centered.
During the almost 4 months it took to get to this point and the global COVID and energy situation that had worsened, the price they initially quoted could not be maintained. This was quite understandable and I excepted the price increase.
Some would say, that that is not good business, but I always say, where business is done, the 2 sides involved should be happy with what is offered!
I’m sure this has eventually translated into an upgrade in the glass tubing. They have used glass tubing made from a better and thicker quality, which was my ultimate wish at the start, but due to the much higher costs not realistic. Divine intervention?
Production would take 6-8 weeks, which gave me time to arrange the shipping of over 1.25m3 / 44ft3 of glass parts from a locked down China by boat to The Netherlands.
Shipping took eventually almost 4 months, but it was worth the wait!